Administration🔗
Provisioning Reserved Ranges🔗
To provision the underlay, the system requires the ability to assign ASNs and IP addresses. The exact number required depends upon the maximum expected size of the data center. Because changing these values later can severely affect the integrity of an operational data center, it is recommended that you set the expected maximums larger than any expected growth. The underlay Reserved Range page shows the reserved ranges. User assigned ASNs and IPs cannot be chosen from these ranges.
Verity assigns variables within these ranges as managed objects are created. The variables are marked as "auto" in the GUI screens where they are used and can always be overridden in each use case if required.
It is highly recommended that these are set up during system installation. They can be changed later, but it will be a service affecting change as most of the configuration needs to be replaced system wide.
Routing🔗
Routing includes the following WAN IP information.
- Hostname (fully qualified domain name)
- RAT Port Range
- WAN IP Source (DHCP or Static)
- WAN Default Route
- WAN IP Address
- DNS Server
Software Packages and Licensing🔗
System software updates and licensing information are imported in Software Packages and Licensing.
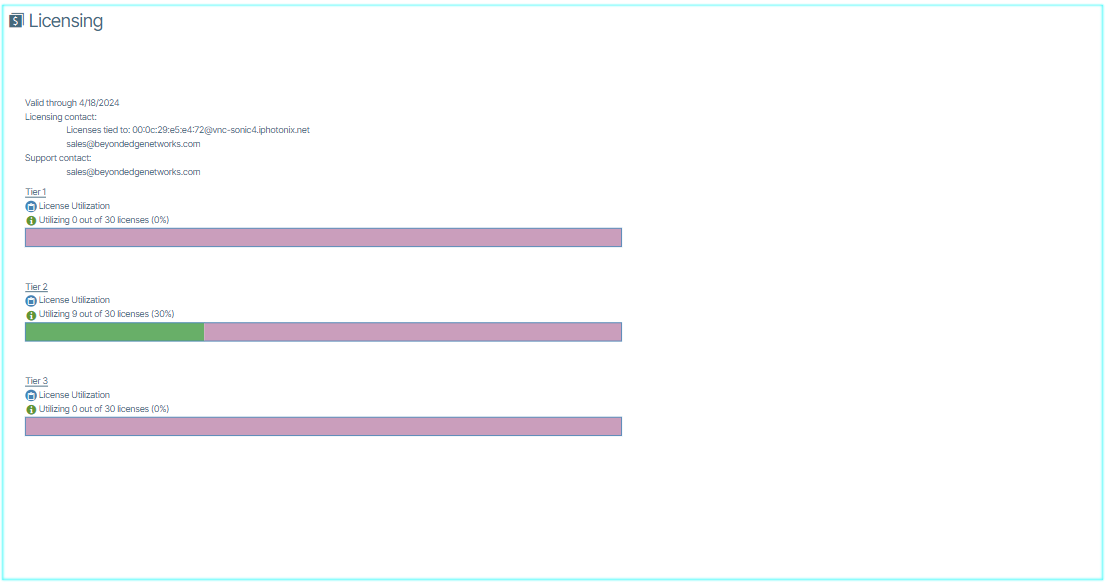
Licensing🔗
The Licensing object displays License Usage and Physical Port Usage bar graphs. While focused on the object, the user can see the date of licensing expiration, contact information for support, and reports of license and physical port usage.
Certificate Management🔗
Certificate Management is a drag and drop control panel to import SSL Certificates.
How to Access the Certificate Management Options🔗
To import a Certificate, first enable SD-Admin by clicking the SD-Admin button icon. In the window that appears double-click the section titled "Certificate Management". In the window that appears, double-click the tile that describes the certificate you want to upload.You can either drag the certificate to the drag and drop section or click the browse button and select your certificate file to upload it.
For the "vNetC Server Certificate" panel, certificate files must be in PEM format. The vNetC Server Certificate should include
- Private Key File
- Certificate File
- Optional CA Intermediate Certificate
These should all be in PEM format, concatenated in that order. The CA Root Certificate should not be included.
Once uploaded, the vNetC Server Certificate is automatically added to the backend web path. Although this does reconfigure the backend process, this is done so that new connections will be handled using the new certificate but old connections will continue the operate as before, so there is no outage of the web service during a certificate update.
Currently, the "ACS Server Certificate" panel is not used.
Branding🔗
Branding is where you apply custom business branding to your Verity application as it is shown in the browser.
Branding can be applied to:
- Banner - large logo across the top of the GUI display
- Favicon - icon on tab header in browser
- Top Logo - smaller logo displayed on top left of GUI
Settings🔗
Settings lets you configure the following:
- vNetc Address on Management VLAN
- Permissible IP Address Ranges on Managed Devices
- Customized Download Address/FQDN
Monitoring, Backups and Logging🔗
Monitoring, Backups and Logging lets you configure status monitoring, backups, and loggings of the vNetc via SNMP, SFTP and SYSLOG.
Report🔗
Report lets you run scheduled service reports and export the data as a CSV file.
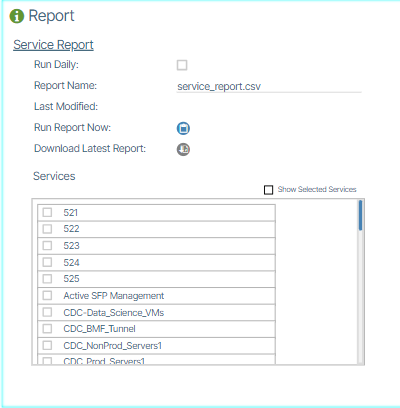
The options and fields for the report are:
| Field | Description |
|---|---|
| Run Daily | Run the MAC address search every day |
| Report Name | Filename output by the system. Recommend using CSV extension |
| Last Modified | Indicates last time report was run |
| Services | List of Services on the system. Check box indicates that the service should be included in the report |
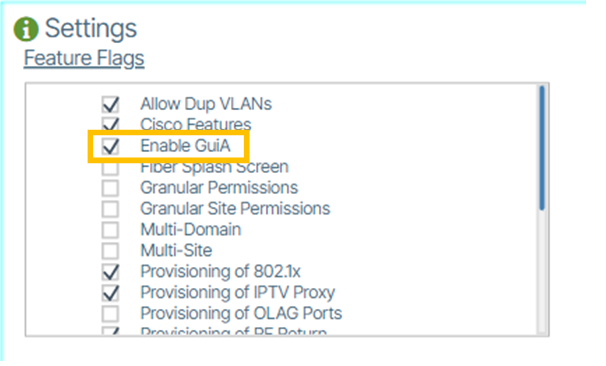
How to Access Feature Flags🔗
To enable or disable feature flags, first enable SD-Admin by double-clicking the SD-Admin button icon. In the window that appears, double click the tile titled "Settings". In the window that appears, the feature flag options are presented as a collection of checkboxes.
The feature flags are generally used to enable or disable visibilty of options in the GUI and other system wide behaviors. Please consult with BE Networks regarding the usage of these settings beyond the defaults that are set upon installation.
How to Access Radius Server Settings🔗
To access the Radius Server settings, first enable SD-Admin by clicking the SD-Admin button icon. In the window that appears double-click the tile named "Users and Permissions". Double-click the tile named "Radius Logins". From there you can add multiple servers, select authentication type, server URL, port and secret.

Add rows for up to 4 RADIUS servers that Verity will connect to when users login to validate their user name and credentials. See section below on User roles to tie into the Radius server roles.
How to access SYSLOG🔗
Enable SD-Admin by double-clicking the SD-Admin button icon. Click the window titled "Monitoring, Backups and Logging".
How to Automate Backups🔗
Enable SD-Admin by double-clicking the SD-Admin button icon. Click the window titled "Monitoring, Backups and Logging". Under the heading "DB Backups" is where you automate system backups.
Users and Permissions🔗
Verity supports role based access (RBAC) permissions scheme to partition the various workflows to operational personnel.
| Permission | Parameters | Role |
|---|---|---|
| [DEV] Device Management | Add device controller, Swap switchpoints, Set read only mode, Capture device snapshot, Trigger a full device rescan by ACS, Open a remote access tunnel, Reboot switch, Mark device out of service. | Device Operations |
| [NW] Network | Edit POD name, Add a new preprovisioned switch Designate LAN TORs (Management Network), Lock switch Edit site, Create switch pairs, Create a static connection, Delete device controller, Edit device controller, Site Settings (DHCP snooping, Aggressive Reporting, CRC Failure Threshold) , Underlay Fabric Configuration | Network Operations |
| [SEP] Switch Endpoint | Edit Switch Name and type (spine/leaf) Delete Switch Edit switch Note, Port Provisioning | Day-Day Service Management |
| [BP] Base Provisioning | Manage Tenants, Gateways, LAGS, Route map assignments | Infrastructure |
| [GBL] Globals | Manage badges, Radius servers for 802.1x | Security |
| [IE] Import | Import snapshots, Clear system | Global Provisioning |
| [SVC] Services | Manage services, Change assigned tenant | Service Creator |
| [SET] Sets | Manage Firmware Update Sets | Software Manager |
| [VIEW] Views | Manage Views | Monitoring |
User Roles🔗
This feature lets you grant or restrict features to selected user roles.
Assigning Users to Roles🔗
- Select the User Accounts item box.

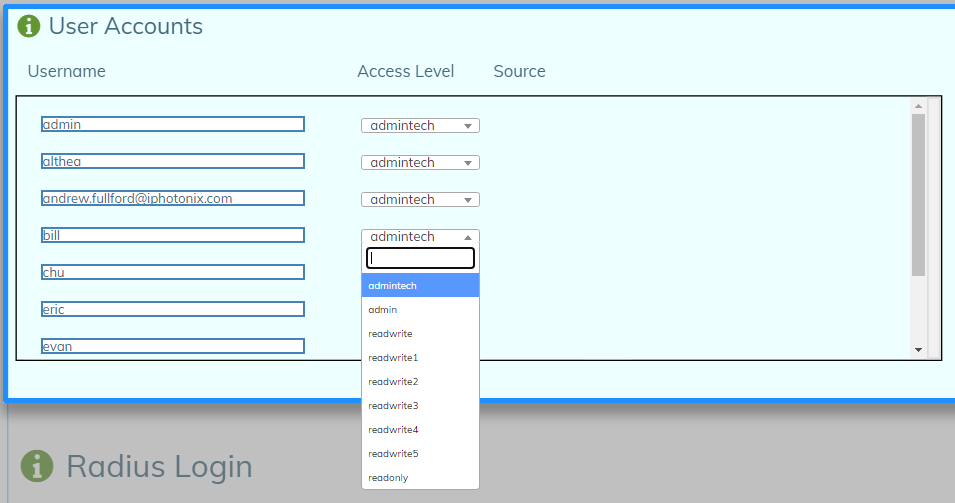
- In the window that appears, click the Access Level menu item twice for the chosen user.
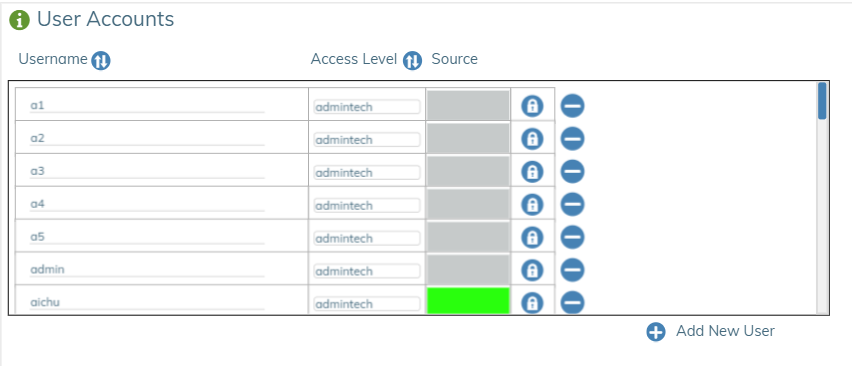 You can also select the edit icon (
 ) in the upper right corner of the User Accounts window to edit the page.
 - Choose the Username you want to change and set the Access Level to the desired role.
- To complete the process, click the checkmark (
 ) in the upper right corner of the User Accounts window to save your work.
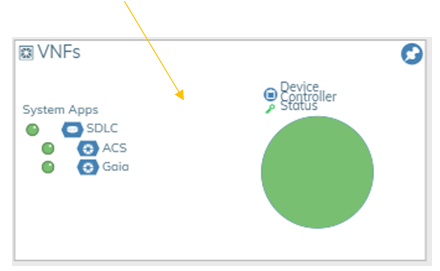
VNFs🔗
This section of the map focuses on the management of the virtual machine installations of the vNetc and SDLC. This includes the ACS, GuiA and DHCP server. Device Controller settings are also in this section. 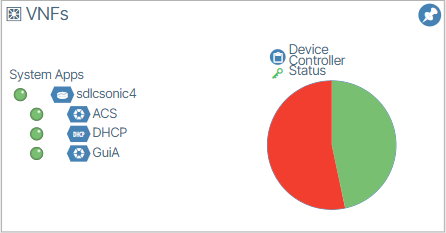
vNetC Commander🔗
This section is composed of important processes working within the vNetC virtual machine. 
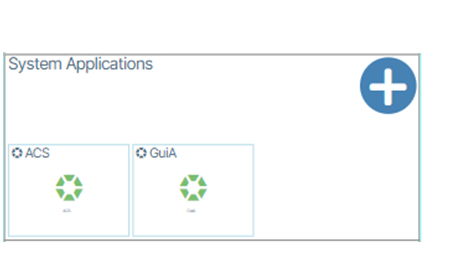
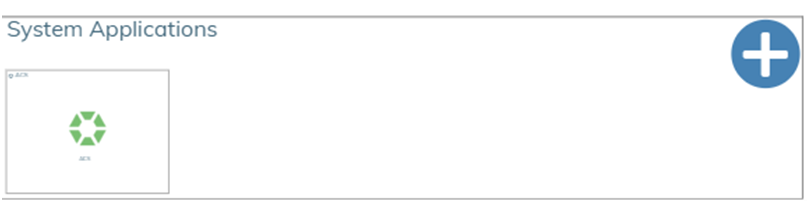
System Applications🔗
System applications are ACS and GuiA. Create a new system application:
- Click the Add a System Application button. (
 )
) 
GuiA🔗
GuiA stands for GUI Acceleration and is a new system application that increases UI performance. To add GuiA to your application:
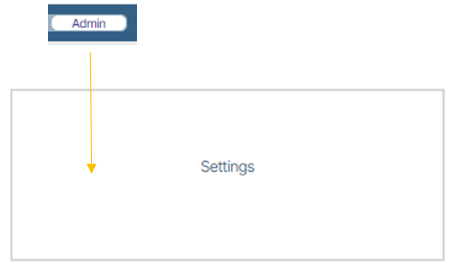
- Open the Admin tab and click Settings.
- In Feature Flags check the box next to Enable GuiA and save your selection. You are only allowed 1 GuiA instance for your application.
- Go to Verity.

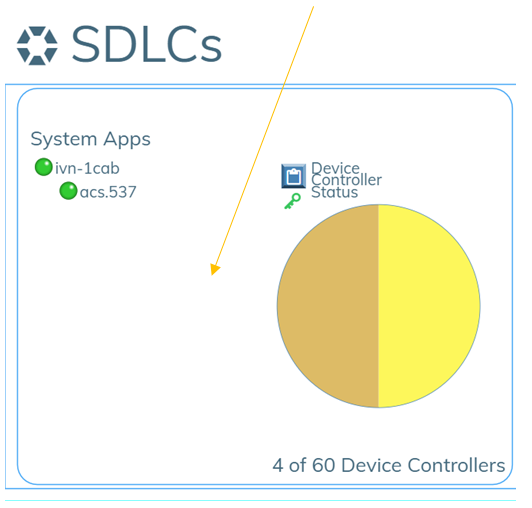
- Click VNFs.
- In the window that appears, click to open the SDLC contents.
- In the window that appears click the create button ()
 .
. - Choose GuiA from the prompt that appears.
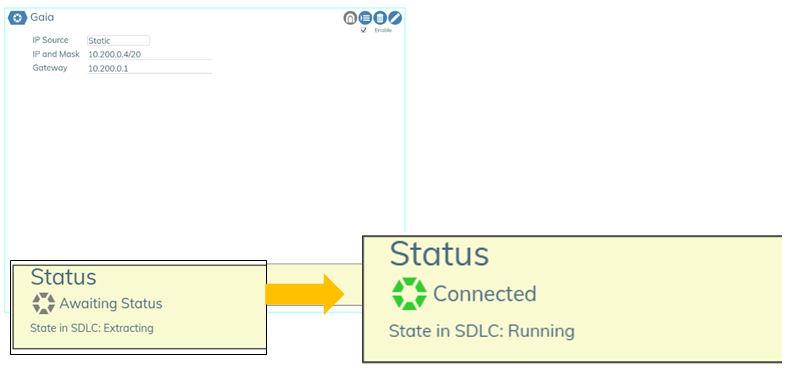
- In the window that appears enable the application and fill out the fields with the relevant IP information.
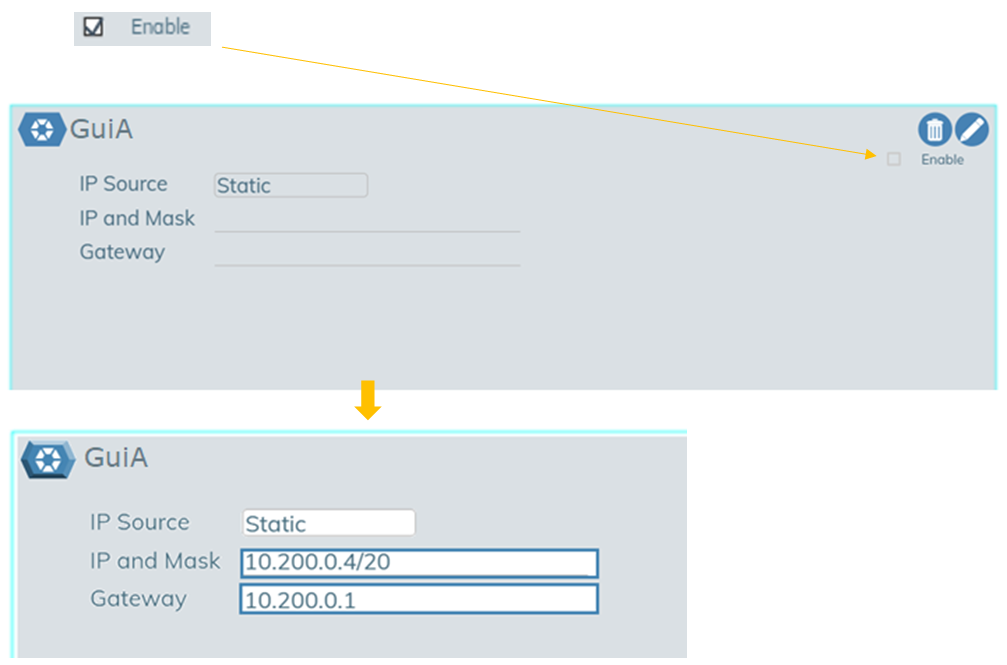
- Save your work by clicking the checkbox icon(
 ).
). - The yellow Status box text reads Awaiting Status. When it changes to Connected, the process is complete.
Export Selected Provisioning as JSON for Later Import🔗
- Enable the world view by clicking the World icon.
- Open Import/Export Workbench.
- Click Export Button.
- Select the JSON option.
- Click Export button.